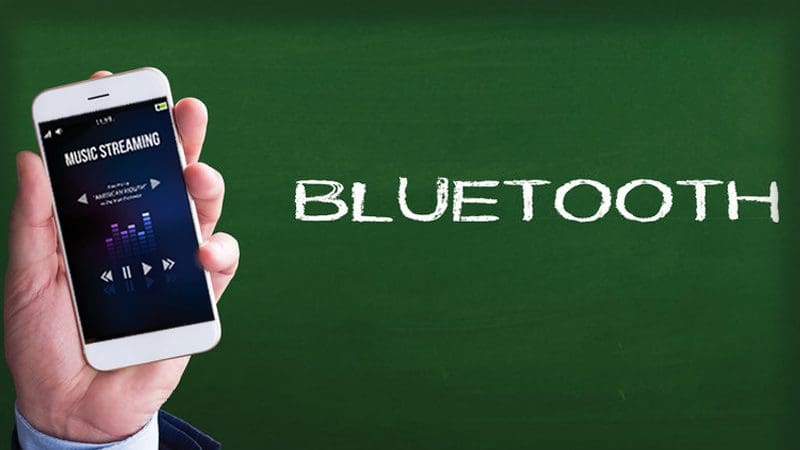
 If you have been around the mobile electronics industry for any amount of time, you will know that certain terms are often used incorrectly. One term that has been over-abused lately is Bluetooth. Product manufacturers, retailers and consumers have developed an expectation of what Bluetooth is, and what it does. Sadly, those expectations can lead to confusion and undesirable results. This article explains what Bluetooth is, and how it is used.
What is Bluetooth?
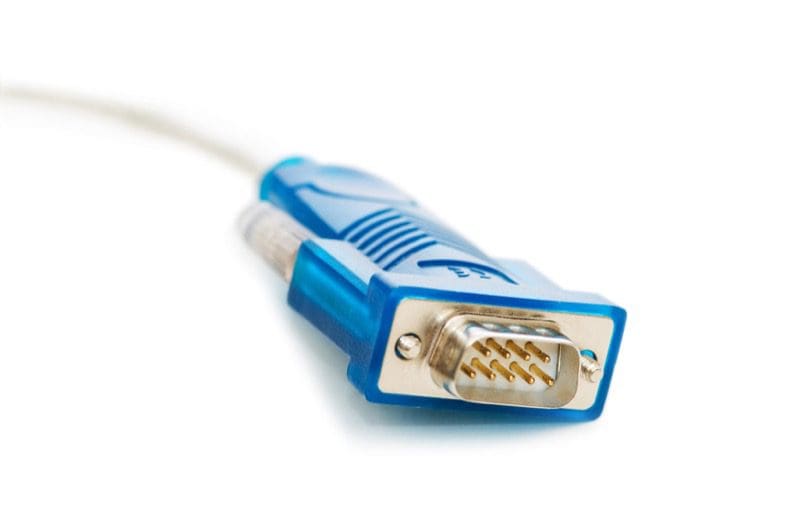 Back in the dark ages, we had to connect electronic devices with wires. We also created wheels from boulders using animal bones as tools. RS-232 was a popular type of communication protocol for devices like modems, printers, scanners and cameras. Two wires would carry data between these devices and your computer. In 1994, Ericsson – a telecommunications and network equipment manufacturer in Stockholm, Sweden – introduced a wireless alternative to RS-232 called Bluetooth.
Bluetooth is a low-power, high-speed wireless communication protocol. Bluetooth operates using short-wave UHF radio waves in the frequency band of 2.4 to 2.485 GHz. Within this range of frequencies are 79 dedicated Bluetooth channels. Bluetooth uses Frequency Hopping Spread Spectrum to reduce errors and allow multiple devices to operate within the same frequency spectrum.
Bluetooth is used for short-range data communication between devices like computer and keyboards, video game controllers and consoles, and cellular phones and wireless devices. There are applications for medical applications such as monitoring heart rate, blood pressure and glucose levels. That said, many industrial applications exist between sensors in production systems and control computers.
Bluetooth Profiles
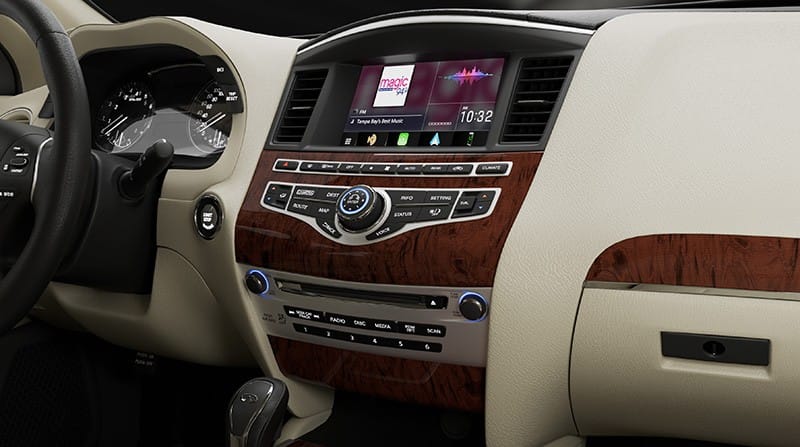
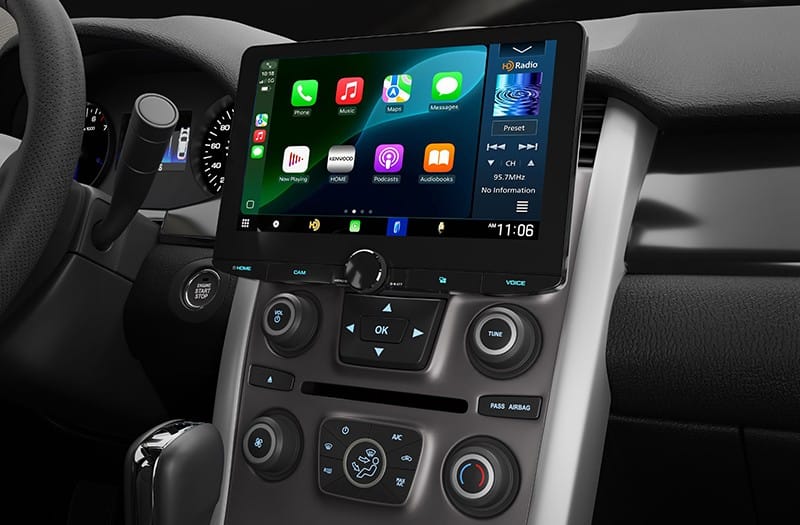
The misconception many people in the mobile electronics industry have is that Bluetooth exists to let cellular phones make calls and stream music to our radios. Bluetooth is far more involved and flexible than that.
Any talk of Bluetooth functionality is a perfect segue to introduce us to profiles. A Bluetooth profile is a set of instructions and commands that operate over a Bluetooth connection. Profiles simplify the communication between devices. In our industry, we are used to four common profiles:
 PBAP – Phonebook Access Profile
HFP – Hands-free Profile
A2DP – Advanced Audio Distribution Profile
AVRCP – Audio Video Remote Control Profile
These profiles are used in varying combinations to allow you to connect your phone to your car radio so you can make phone calls and stream music. A few companies that have wanted to provide an Internet connection to their radio have used DUN to accomplish this task.
PBAP Profile
The Phone Book Access Profile allows your source unit to receive phonebook entry information, as well as manage it. Phonebook entries are transmitted and managed by the radio in vCard 2.1 or vCard .0 formats. Missed, received and dialed numbers are listed as well.
HFP Profile
The Hands-free Profile carries monaural audio between the phone and a secondary device. The profile also supports commands to answer or reject incoming calls; place a call; use memory data to place a call, terminate a call or manage phone volume level; and send phone status information, including battery, roaming status and signal strength . These functions are included in version 1.5 of the Hands-free Profile. Future versions, such as 1.7, will include support for wideband speech and the use of external audio compression and decompression codecs.
A2DP Profile
The Advanced Audio Distribution Profile operates within another profile called the Generic Audio/Video Distribution Profile (GAVDP). A2DP is responsible for allowing us to stream audio from a device such as a smartphone to a radio or powered speaker. The basic profile allows for stereo audio to be transmitted at a sampling frequency of 44.1 kHz at up to 328 kb/s. The use of a third-part codec such as aptX from Qualcomm or LDAC from Sony may further improve on bandwidth.
AVRCP Profile
Functioning alongside the GAVDP profile is the Audio Video Remote Control Profile. AVRCP is responsible for the display of song title, artist and album information, and control over playback device functions. If you can imagine a button on a DVD remote control, the AVRCP is likely to support it. Most car audio source units include functions like play, pause, fast-forward and rewind. The most recent versions of AVRCP include support for folder navigation and searching.
What Bluetooth Doesn’t Do
Although the Bluetooth Special Interest Group (SIG) works to manage the different Bluetooth communication and profile standards, there are variations in functionality between profile versions and, more importantly, between smartphone vendors. This latter fact can be a significant issue for buyers of car audio source units. The expectation that it “should work,” while not unreasonable, is not always possible. To expect a seven- or eight-year-old radio to work flawlessly with a brand-new iPhone 7 or Samsung Galaxy S8 isn’t reasonable. The hardware in the older units cannot be upgraded.
How to Buy Bluetooth
 If you are shopping for a new source unit, take any smartphone you want to use with it to the retailer. Ask to pair your phone with the demo unit on display. Check that your entire list of phone contacts transfers as expected. Make sure you can use voice control functions if they apply to your phone. See that you can make calls easily. Finally, check that your phone reconnects reliably to the source unit by cycling power on the source a few times.
If you purchase a new radio and have it installed, only to find out it is not compatible with your smartphone, there is often nothing that can be done quickly. Some manufacturers do release updates for Bluetooth functionality, but these updates are not going to turn a Bluetooth 3.0 system into a 4.0, or add AVRCP 1.4 to a system that shipped with AVRCP 1.2. Do your research before you buy!
If you are looking for a hands-free solution to make phone calls or stream music to your audio system, drop in at your local mobile electronics specialist retailer. Bring your phone, pair the Bluetooth connection and experiment with the options.
This article is written and produced by the team at www.BestCarAudio.com. Reproduction or use of any kind is prohibited without the express written permission of 1sixty8 media.