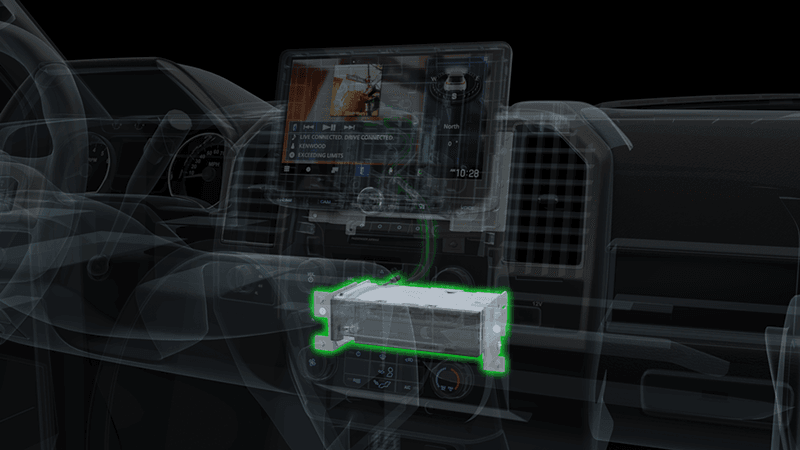
One of the best upgrades you can make to your car audio system is to add a high-quality subwoofer. Whether you are working with a simple factory-installed radio and speaker system or planning a studio-quality listening environment, accurately reproducing bass frequencies is important. The folks at Audison have a full line of compact subwoofer enclosures that can transform your system from good to awesome. In this spotlight, we will look at the Audison APBX 10 AS2.
Features of the Audison APBX 10 AS2
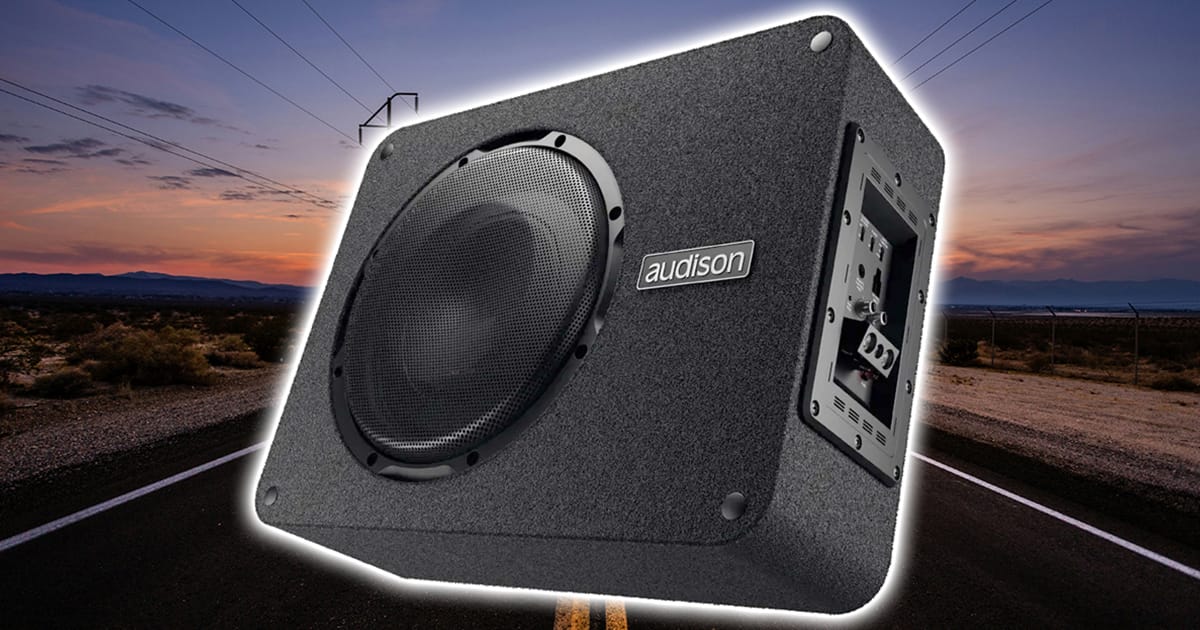
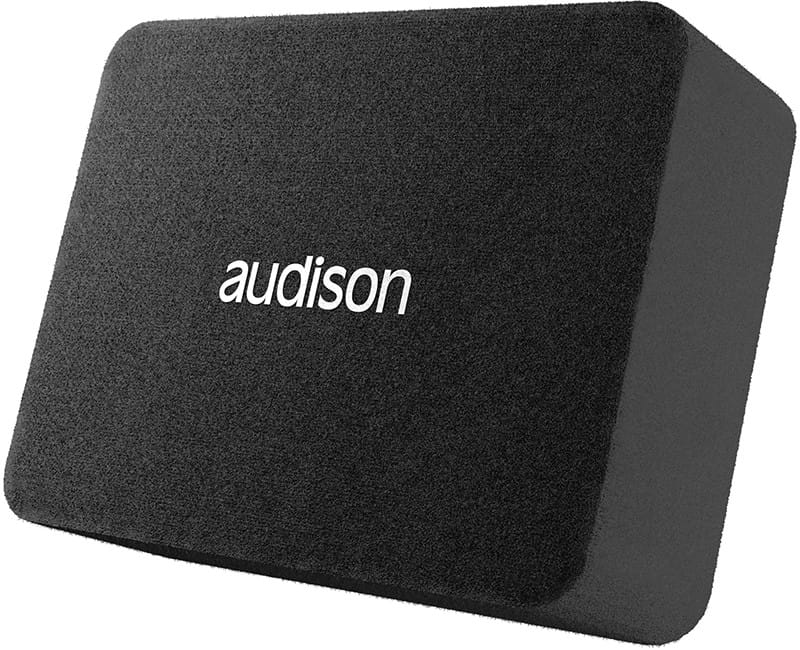
The APBX 10 AS2 is a low-profile 10-inch active subwoofer enclosure. The term “active” means this unit has an integrated amplifier. Essentially, with some wiring to feed it power and a signal from the radio, this is all you need to add bass to your car, truck, or SUV.
The enclosure measures 17.3 inches long, 13.2 inches wide, and stands a mere 6.2 inches tall. The amplifier is mounted on one of the thin side panels, and the subwoofer is designed to fire down into the floor or back wall of your car or truck. Feet are included to raise the enclosure off the floor so the subwoofer doesn’t hit anything. The enclosure has rounded corners for a little extra style.
The amplifier included with the APBX 10 AS2 is rated to provide up to 400 watts of power. Audison uses a 0.16-ohm low-impedance driver in the enclosure, so the amp doesn’t need a switching power supply. This design is said to boost system efficiency.
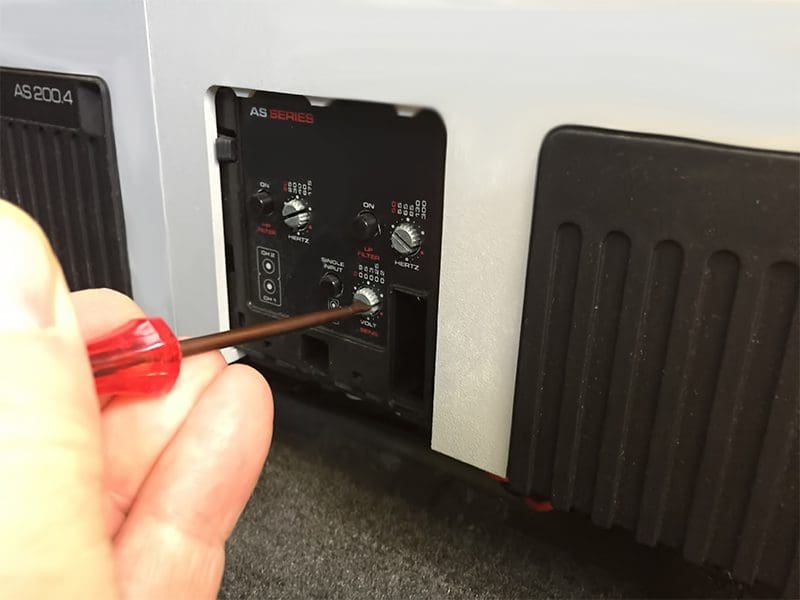
Amplifier and Integration Features
The amplifier can accept speaker-level or preamp signals to ensure integration with factory-installed and aftermarket source units is simple and reliable. In high-level mode, the amp will accept up to 8 Vrms on the speaker leads. In low-level mode, the maximum input is 4 Vrms.
The amp has a three-position remote turn-on function switch. The amp can be activated when 12 Volts is applied to the remote terminal. Alternatively, in DC mode, the amp’s circuitry will monitor the speaker wires for the DC offset voltage from a BTL amplifier. Finally, if neither of those options works with your source unit, the amp can detect an electrical audio signal to bring things to life.
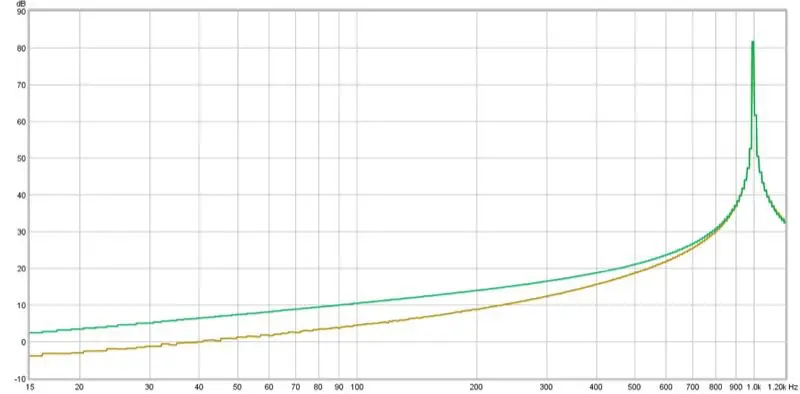
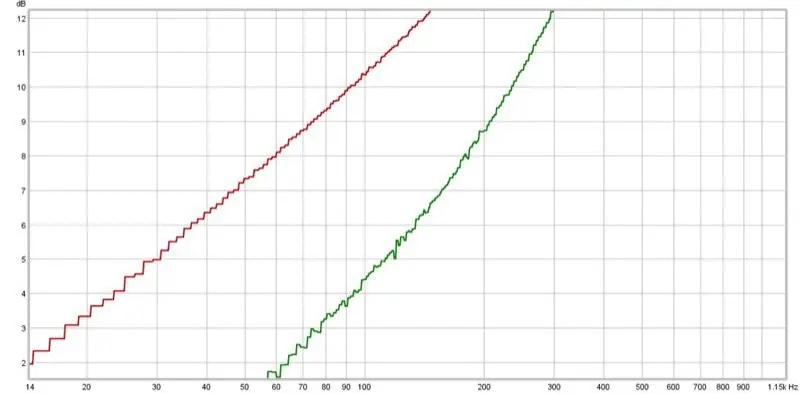
In terms of signal processing, the amp has a crossover that can be adjusted from 50 to 300 hertz and features a second-order Butterworth alignment. The internal crossover can be defeated with the Lo-Pass/By-Pass switch if you have a source unit or signal processor with integrated filtering. There is also a bass boost function that lets your installer dial in a bump of up to 6 dB at 45 Hz to add a little extra thump to your music. Finally, there’s a fixed fourth-order (-24 dB/Octave) infrasonic filter set to 24 Hz.
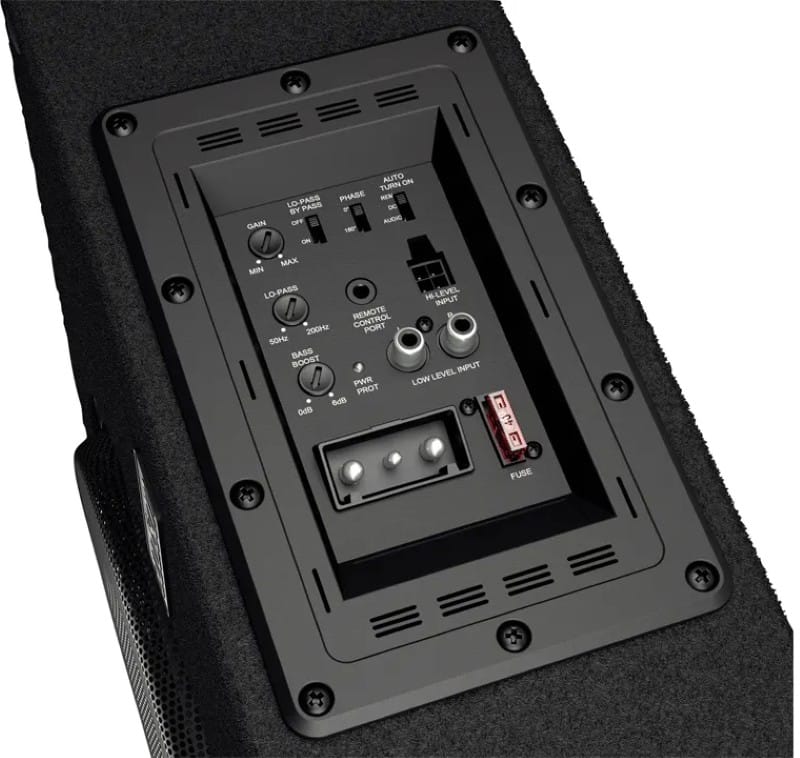
Audison includes their HRC AP remote level control with the APBX 10 AS2. This remote connects to the amp via the included 3.5mm jack. Your installer can mount the control on the dashboard or in the center console to give you control over the bass level. While the original gain setting should provide a nice balance, sometimes we want a little more or a little less bass, depending on our mood or the choice of music.
The amplifier includes a feature called Dynamic Bass Tracking (DBT). This circuitry monitors the audio input in real time to prevent signals that could cause distortion, keeping your music from sounding bad. This circuit will also prevent damage to the woofer.
Audison Subwoofer Features
The subwoofer integrated into the enclosure is based on Audison’s APS 10 series of drivers. The subwoofer features a heavy-gauge stamped-steel chassis to which a single ferrite magnet is affixed. Cooling vents in the basket, under the spider mounting plateau, help to keep the voice coil assembly cool. There are also vents in the cone to allow hot air to escape from the motor assembly.
The cone is made of pressed paper with a water-repellent coating to prevent it from absorbing moisture in humid or damp climates. A polypropylene dust cap keeps debris out of the magnetic gap and gives the driver’s face a clean, classy appearance.
Upgrade Your Car Audio System with Audison Today!
If you want to take your car audio system to the next level, drop by an authorized Audison retailer today and ask about the APBX 10 AS2 subwoofer enclosure. Audison offers a similarly designed, but slightly more compact 8-inch solution called the APBS 8 AS2 if space is at a premium.
You can find an authorized retailer using the locator tool on the Audison website. Be sure to follow Audison on Facebook, Instagram, and YouTube to learn about all the amazing audio integration solutions they offer.
This article is written and produced by the team at www.BestCarAudio.com. Reproduction or use of any kind is prohibited without the express written permission of 1sixty8 media.